
Welding and soldering are both joining processes used to connect metal components, but they are not the same. The two methods differ significantly in the required temperature, the materials they use, and the strength of the bond formed.
While the two processes appear similar on the surface, they produce very different results depending on the application. So what actually separates welding from soldering? And how do you know which one is right for your project?
Welding vs Soldering: A Look at Both
Welding and soldering are both used to join materials, but the way they achieve that join is fundamentally different.
Welding
Welding involves melting the base metal itself. Intense heat is applied to the metal pieces being joined, bringing them to their melting point and fusing them. It's often done by adding a filler metal to strengthen the weld pool. The result is a welded joint that is as strong as, or stronger than, the base material itself. There are several types of welding, each suited to different settings and metals.
Soldering
Soldering, unlike welding, does not melt the base metal. Instead, a solder material with a lower melting point is heated and used to bond two metals together. The base material remains intact throughout the process, and the soldered bond forms as the solder alloy adheres to the surfaces of both components. Soldering operates at a much lower temperature than welding and is the preferred joining process for delicate materials, electronic devices, and circuit boards, where high heat would cause damage.

Key Differences Between Soldering vs Welding
|
Aspect |
Soldering |
Welding |
|
Temperature |
Usually below 450°C |
Above 3,000°C |
|
Base Metal Involvement |
Base metals don't melt; only the filler metal melts |
Base metals melt and fuse together |
|
Joint Strength |
Weaker joints suitable for light-duty use |
Very strong joints suitable for structural and heavy-duty applications |
|
Materials |
Copper, brass, electronics, and thin metal components |
Steel, aluminum, stainless steel, and other heavy metals |
|
Heat Affected Zone/Distortion |
Minimal distortion and a very small heat-affected zone |
Larger heat-affected zone with greater risk of distortion |
|
Applications |
Electronics, plumbing, circuit boards, jewelry repair, and small metal work |
Construction, automotive manufacturing, pipelines, shipbuilding, and industrial fabrication |
Temperature
Welding operates at extremely high temperatures, high enough to melt steel and other base metals. Soldering operates at a much lower temperature, typically below 450°C, so you can use a material with a lower melting point that bonds to the base material without melting it.
Base Metal Involvement
Welding involves melting the base metal to create a weld pool that fuses the metal pieces. Soldering does not affect the base metal. The solder alloy melts and flows between the two metals, forming a soldered joint once it cools and solidifies.
Joint Strength
Welded joints are significantly stronger than soldered joints. The bond created by welding is a direct fusion of the base metals, producing a welded connection with high mechanical strength suited to structural and mechanical applications. Soldered joints offer lower mechanical strength and are better suited to electrical connections, copper pipes, and electronic devices where high structural load is not a requirement.
Materials
Welding is primarily used to join similar metals, though dissimilar metals and dissimilar materials can be joined under specific conditions with the right welding tools and welding techniques. Soldering is more versatile in this regard, as it can join dissimilar metals and a wider range of materials, including those that cannot withstand the high heat of welding.
Heat Affected Zone and Distortion
Welding generates intense heat across a wider area, which can cause thermal distortion in the surrounding base material. Soldering produces less thermal distortion due to its low-temperature operation, making it the preferred joining process for thin and delicate materials and precision components where heat damage is a concern.
Applications
Welding is the standard joining process across the welding industry for structural steel, sheet metal, pipework, and heavy fabrication. Soldering is the preferred process in electronics manufacturing, circuit boards, and applications where a low-temperature joining process is required.

How to Solder: A Step-by-Step Guide
Step 1: Gather Your Equipment
Before starting, ensure you have everything you need in place. This includes a soldering iron, solder material appropriate for the application, flux, a cleaning sponge or wire cleaner, and appropriate protective equipment. For electronics manufacturing and circuit boards, use a lead-free solder alloy rated for the application.
Step 2: Prepare the Base Material
Clean the surfaces of the components being joined thoroughly. Dirt, oxidation, and grease on the base material will prevent the solder from bonding correctly. Use an appropriate cleaner or fine abrasive to ensure both surfaces are clean and free of contamination before proceeding.
Step 3: Apply Flux
Apply flux to the surfaces being joined. Flux removes oxidation from the base metal during soldering and helps the solder flow evenly across the joint. Using flux is particularly important when soldering copper pipes, circuit boards, and electronic devices.
Step 4: Heat the Joint
Apply the soldering iron to the joint, not directly to the solder material. Heating the base material first ensures that the solder flows into the joint correctly once applied. Allow the components to reach the temperature required for the solder alloy being used before introducing the solder.
Step 5: Apply the Solder
Once the joint has reached the correct temperature, feed the solder material into the joint, not onto the soldering iron. The heat from the base material should melt the solder and draw it into the joint through capillary action. Apply only as much extra metal as the joint requires. Excess solder can create bridges between connections, particularly on circuit boards and electronic devices.
Step 6: Allow the Joint to Cool
Remove the soldering iron and allow the joint to cool naturally. Do not move or disturb the components while the solder is solidifying. A correctly formed, soldered joint will have a smooth, shiny appearance. A dull or granular finish indicates a cold joint, which will have poor mechanical properties and may fail under load.
Step 7: Inspect and Clean
Once cool, inspect the soldered bond for quality. Check for complete coverage, smooth finish, and no visible gaps or voids. Remove any flux residue from the joint with an appropriate cleaner, particularly in electronics manufacturing, where such residue can affect component performance.

How to Weld: An Easy-to-Follow Look
Welding requires precise preparation, the correct equipment, and a consistent technique to produce strong, reliable welded joints. The steps below apply broadly across the most common welding processes, including MIG welding, stick welding, and arc welding.
Step 1: Select the Right Process and Equipment
Identify the welding process best suited to your application. Consider the base metal, material thickness, joint requirements, and the mechanical properties needed from the finished weld. Ensure your welding equipment is correctly set up and that you have the appropriate filler material, shielding gas, or electrode for the process and base material being used.
Step 2: Prepare the Base Metal
Clean the surfaces of the metal pieces being joined thoroughly. Remove all dirt, rust, paint, oil, and coatings from the weld zone. Contaminated base material is one of the most common causes of weld defects. For thicker materials, grind or bevel the joint edges to ensure full penetration of the weld pool.
Step 3: Set Your Parameters
Set the correct current, voltage, and wire feed speed for the material thickness and welding process being used. Incorrect parameters are a leading cause of poor weld quality. If you are unfamiliar with the correct settings for your application, test on scrap material first before beginning your welding projects.
Step 4: Position the Workpiece
Secure the metal pieces in the correct position before welding begins. Use clamps, fixtures, or tack welds to hold the components in place and maintain the correct joint gap throughout the weld.
Step 5: Wear Protective Equipment
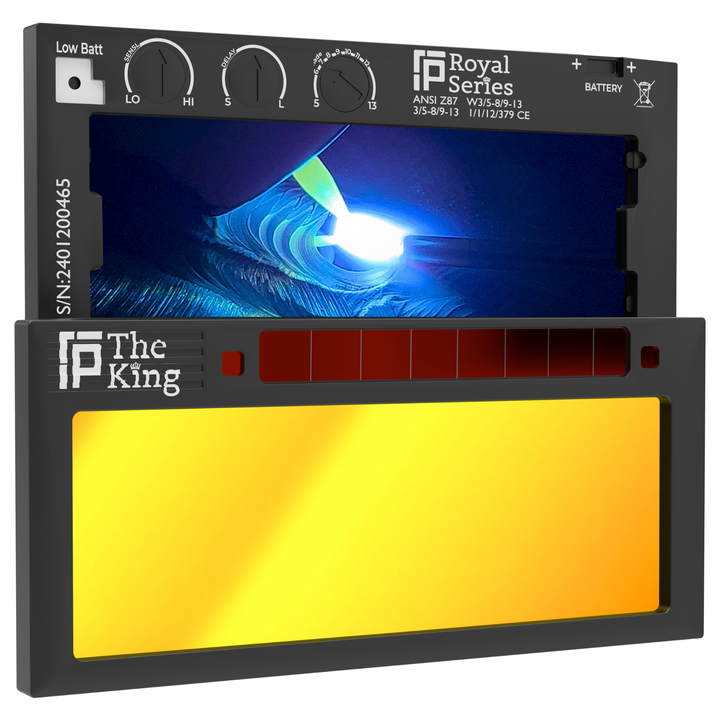
Welding generates intense heat, UV radiation, and spatter. Before striking an arc, ensure you are wearing a welding hood with welding lenses, gloves, and protective clothing rated for the process. You can also add clear lenses to prolong the life of your welding lenses. Skilled welders never compromise on protective equipment, regardless of the job's scale.
Step 6: Strike the Arc and Begin Welding
Initiate the arc and begin welding at a consistent speed, angle, and distance from the base material. Maintain a steady travel speed to ensure even heat distribution and a consistent weld pool. For MIG welding and stick welding, keep the electrode at the correct angle and distance from the joint throughout the weld.
Step 7: Complete the Weld and Allow to Cool
Complete the weld in a single pass where possible, or follow the correct sequence for multi-pass welding on thicker base materials. Once complete, allow the welded joint to cool naturally.
Step 8: Inspect the Finished Weld
Once cool, inspect the welded joint for quality. Check for a consistent bead profile, full fusion at the edges, and no visible porosity, cracks, or undercut. Remove any slag from flux-based processes and clean the weld zone before any further work, coating, or inspection. If you're unsure of what slag is, you can read our blog "What is Slag in Welding?"

Tips for Soldering
- Always heat the joint, not the solder.
- Keep your soldering iron tip clean. A contaminated or oxidized tip transfers heat poorly and produces inconsistent results.
- Use the correct solder alloy for the application.
- Do not use excess solder.
- Never move the joint while the solder is cooling.
- Apply flux where needed.
- Inspect every joint before moving on.
Tips for Welding
- Prepare your base metal thoroughly. Clean all surfaces before welding begins. Time spent on preparation directly improves the quality of the finished welded joint.
- Set your parameters correctly before you start. Test on scrap material first to confirm your settings before beginning the job.
- Maintain a consistent travel speed. Develop a steady, controlled technique and maintain it throughout the weld.
- Use the correct filler metal for the application.
- Always use protective equipment. Welding generates intense heat, UV radiation, and spatter. A welding helmet with appropriate lenses, welding gloves, and protective clothing are non-negotiable regardless of the scale of the welding project.
- Remove slag between passes. This will help prevent slag inclusions that can weaken the finished welded joint.
- Allow the weld to cool naturally. Do not quench a finished weld with water.
- Inspect your welds consistently. When you catch issues early, you can prevent defects from carrying through to the finished component.
Frequently Asked Questions
Is Soldering the Same as Welding?
No, soldering and welding are not the same thing. Welding involves melting the base metal at high temperatures to create a permanent bond. Soldering uses a solder material with a lower melting point to form a soldered bond without melting the base metal.
Can Soldering Be Used Instead of Welding?
Yes, but only in certain applications. Soldering is suitable where low-temperature joining is required or where base materials are too delicate to withstand high heat. It cannot replicate the mechanical strength of welded joints, making it unsuitable for structural or heavy-duty mechanical applications.
Can You Solder Dissimilar Metals?
Yes, you can. Soldering is more versatile than welding when joining dissimilar metals and materials.
Conclusion
Soldering and welding are both effective joining processes, but knowing which one is right for your application makes all the difference. Welding delivers the mechanical strength and structural integrity required for heavy-duty and structural applications. Soldering, on the other hand, provides a precise, low-temperature joining process suited to delicate materials, electronic devices, and applications where high heat would cause damage.
Use the right process for the job, prepare your materials correctly, and follow the correct technique, and you will get the results the application demands.